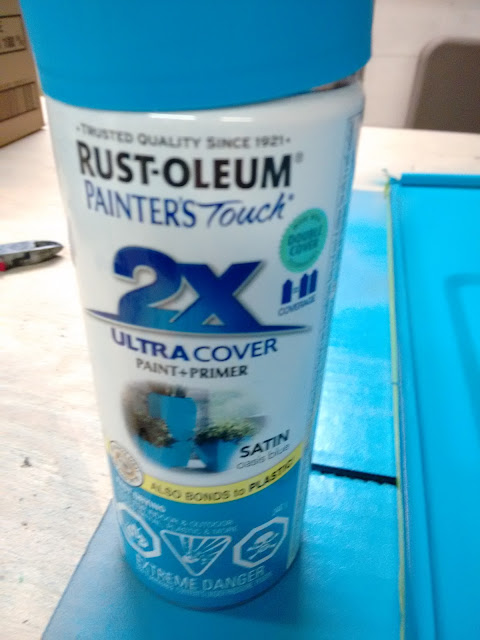
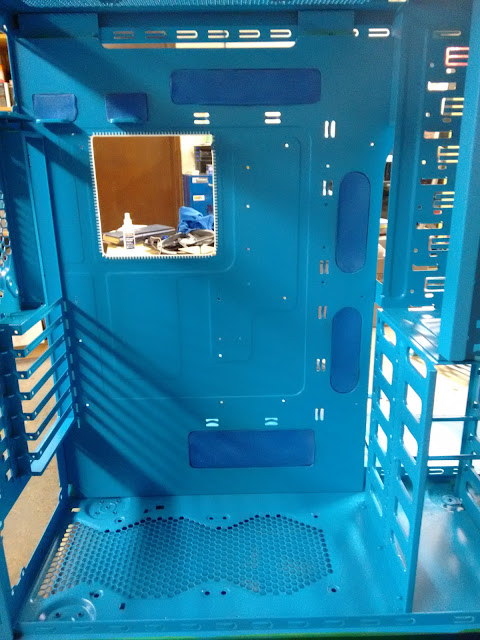
An unsought inspiration came to me as I was walking the aisle's of my local RONA hardware store. I was in the paint isle, and came across RUST-OLEUM's Satin Oasis Blue. I was thinking about how cool my server would look in this color. I've been rocking the black and green (bl-een) color since 2010, maybe it was time for a change.
For some time now I've been wanting to rebuild my media server. There is/was absolutely nothing wrong with it, in fact it's been running pretty well, since it was update to WHS2011, back in August of 2013. In all honesty, I've lost a few hard drives in recent years, more than I probably should, but I think that speaks to the quality of Hard drives today and not my server environment (which runs 24 hours a day). Despite the loss of Hard drives, I don't believe I'll lost any data.
So why mess with something, when you don't need to. Quite simply because I can, also life would be so boring if we didn't change things up a little. Plus my server looks awesome.
The first, and hardest step was taking the server off-line. Then I began the process of disassembling everything.
All pieces not being painted were removed and set aside, as seen in the pictures above. Before I could paint anything I needed to dismantle the window on the case cover panel. With the Cooler Master Haf series of computer cases, this is a delicate step.
The process involves removing plastics clips that are similar to those found in automobiles door panels. By removing the center pin the clip becomes disengaged. As shown below, I punched out the center pin, then from the underside I pull the pin out.
I waited 30 minutes before applying a second coat, and then waited 24 hours before handling any of the pieces. Then came the process of rebuilding my server. I used adhesive foam, that you can find at a crafting store (sometimes I find it at the local dollarstore) and covered the wire pathway holes. The trick to making this work is that you use bigger pieces on the back, and cut proper shaped holes on the front. You will never usually see behind the motherboard tray, but will always be able to see the motherboard tray. Makes sure to adhere both sticky sides to each other, this makes it look much neater.
Cut slits in the foam material as needed to allow wire to pass-though.
To paint the metal mesh inserts for my drive bays, I had bend the tabs straight so as to remove them from the plastic bezel. This is also a delicate task because the metal mesh tabs tend to break if forced or bent too much. If you do break off any of the tabs, its not that big a deal, you can add a drop of hot glue to secure the metal mesh when reassembling. I didn't bother using hot glue on this build, but I have for other cases.
I won't go through the rest of the rebuild, as its quite boring, but here is the finished product.
I really wanted to add blue led lights to the front, similar to the neon green lights I had on the server. I ordered blue leds off Ebay, but after a month and a half of waiting, it was obvious they weren't showing up. I ordered another set, and maybe that will be a future article, until then I have my server up and running currently without its cover panels.


No comments:
Post a Comment
Note: Only a member of this blog may post a comment.